
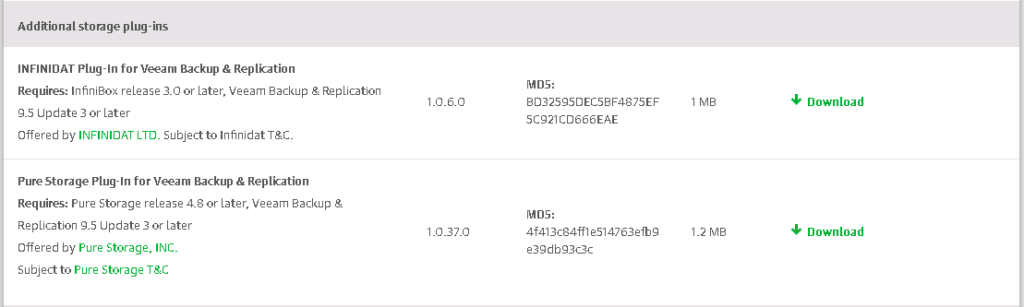
Veeam announced today that the storage plug-in for Pure Storage arrays has been made Generally Available (GA). I’ve been waiting for this for a while and am absolutely delighted that it has gone GA, and that it is the second of the storage plug-ins to make it to market. I decided that similar to the Infinidat article that I published a few weeks ago, it would be worth showing how to deploy this plug-in.
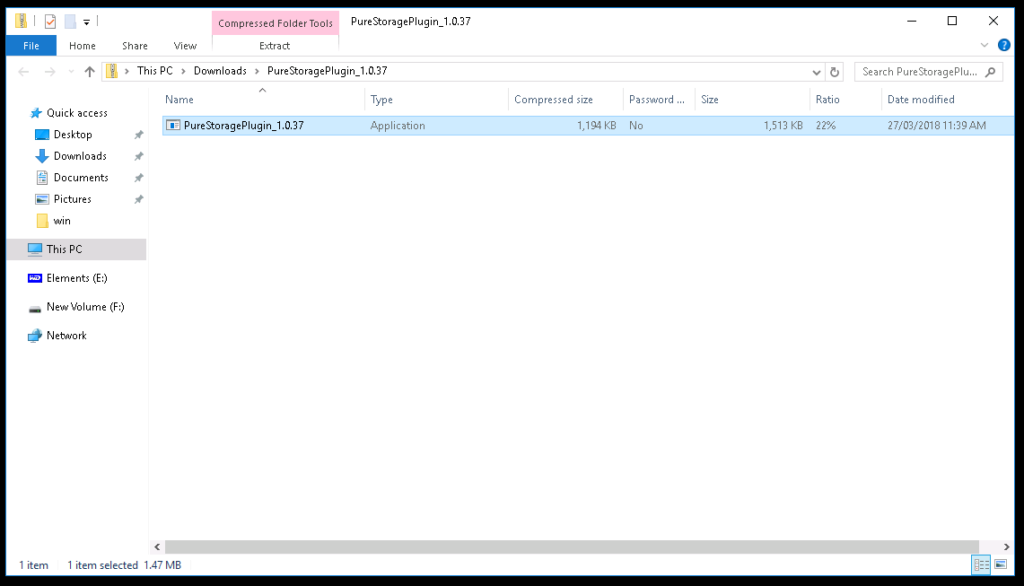
Step One is to download the software. In my case I’ve decided to go through https://my.veeam.com in order to accomplish this.
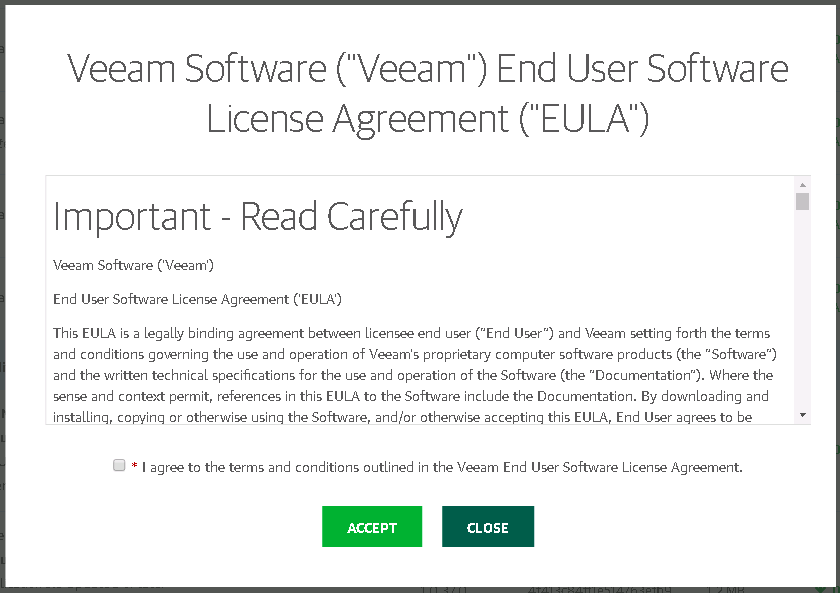
Step Two is to accept the EULA and start the download process.
Step Three is the installation of the software. Note that you will need to close the Veeam Backup and Replication console if you have this open.
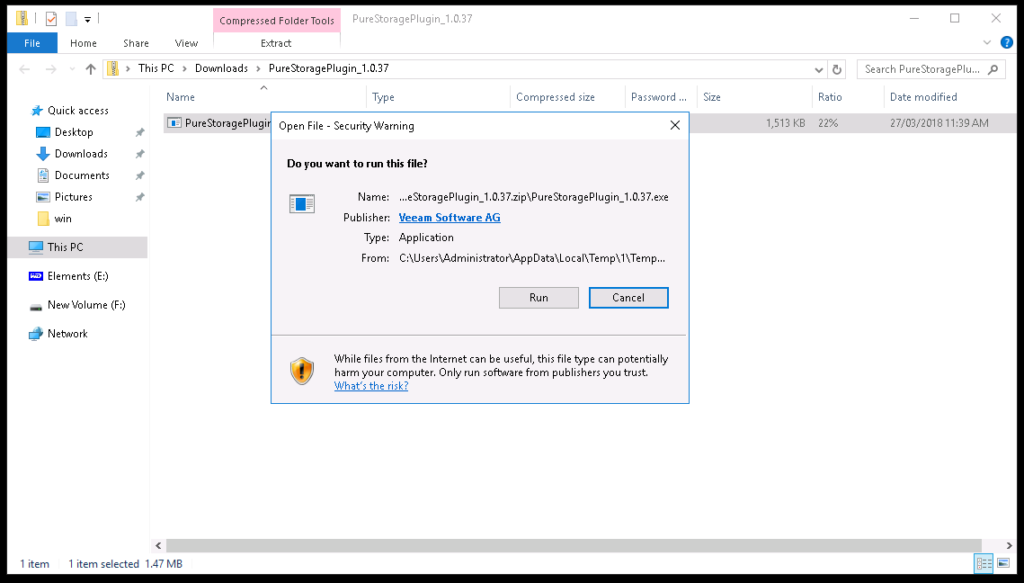
Step Four is to accept the Security Warning
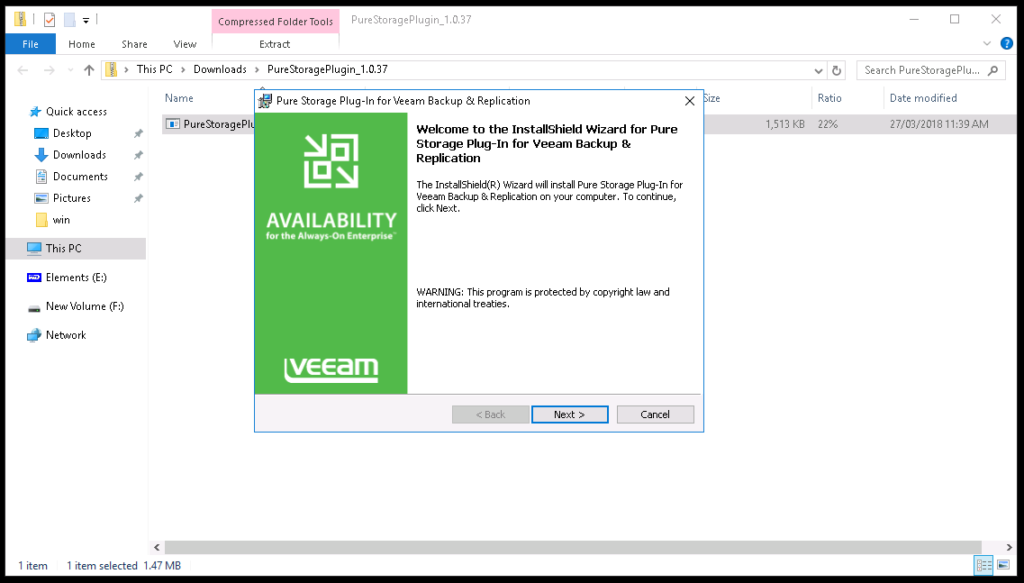
Step Five is to launch the Install Shield Wizard
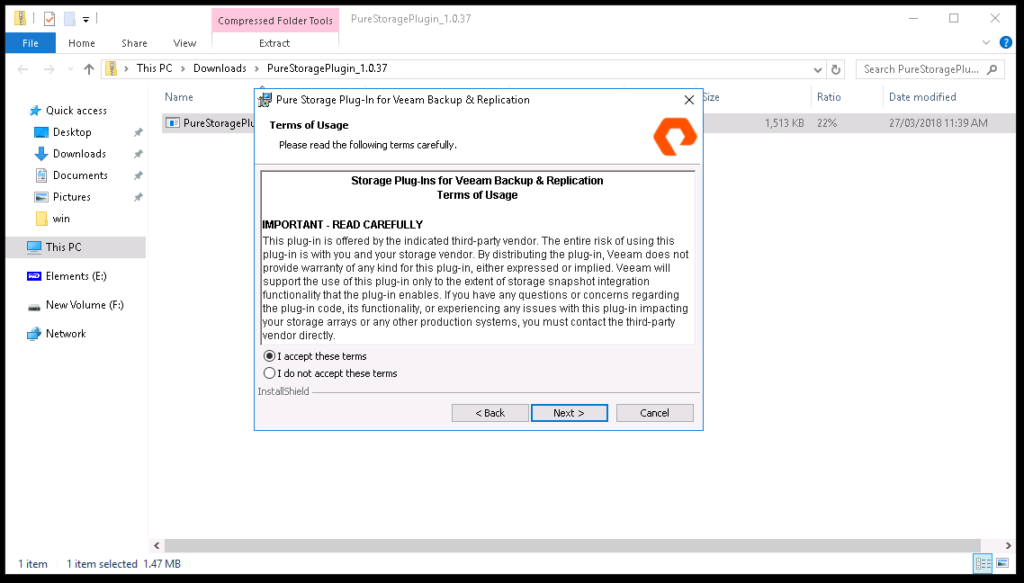
Step Six is to accept the Pure Storage EULA
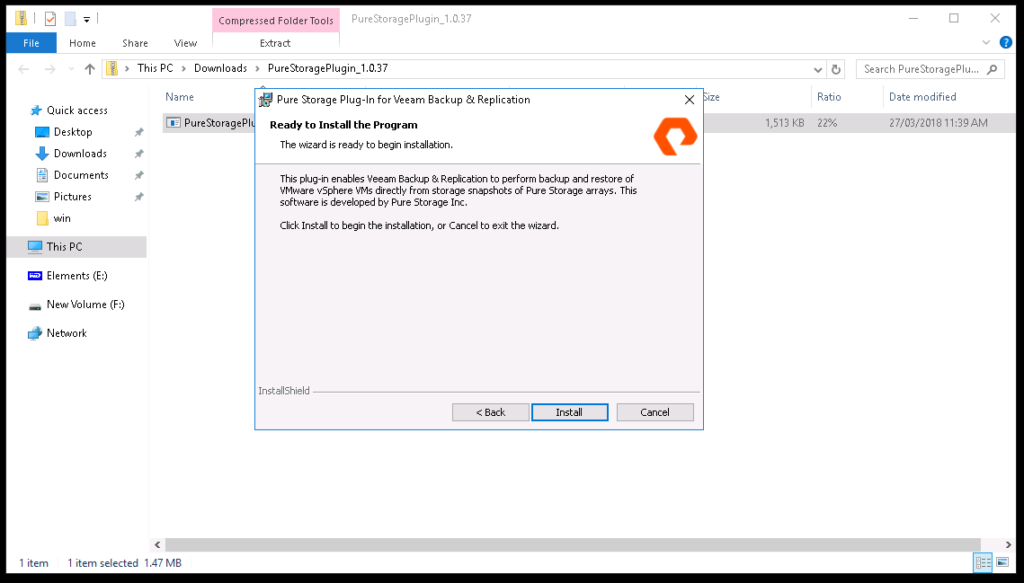
Step Seven is to finish the Wizard and begin the installation process
Step Eight is to close the Wizard after successful installation

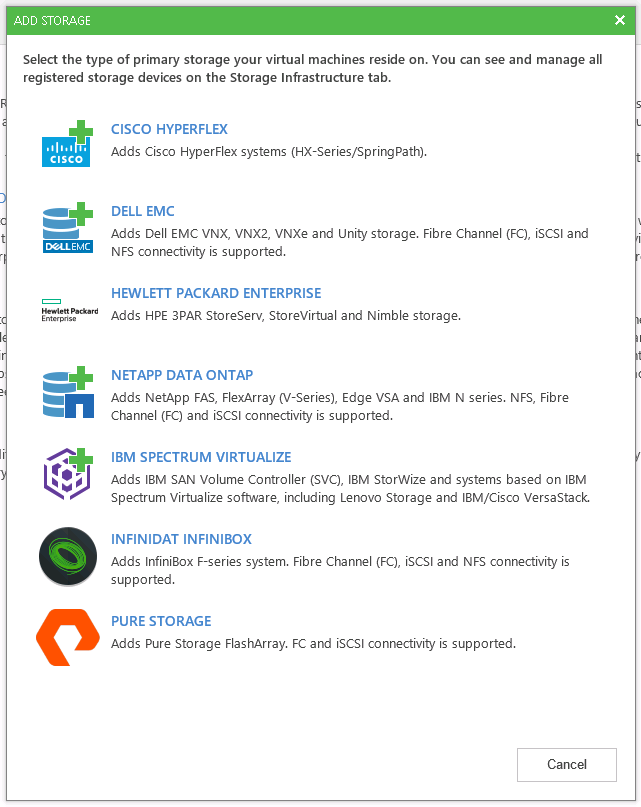
After opening the Veeam Backup and Replication console and browsing to the Storage Infrastructure tab on the lower left of screen and then selecting the Add Storage option a new icon is available for adding Pure Storage.
This process is extremely easy to complete, taking around ten minutes including download and screenshots. I’m currently looking for a Pure Storage array customer to show the how to configure and administer the environment, once I have this I’ll be sure to share further information. As an overview the three major items that you will require are a DNS name for the array or management IP address, a username, and a password. Once you have these you can add the array and start utilising storage snapshots fo your backups. Happy Days!